Trunk Detail and Battery Relocation
How to create the trunk panelsWhen I bought my car it had a real flimsy piece of black fabric glued to the floor. There are not alot of options available for Mustangs outside of the stock floor mats which is good for an original looking Mustang, but not the look I was interested in. There is a black carpeted option available that I saw an article about, but the kit was upwards of $200+ and seemed a little more than I was interested in investing in the trunk. Another option to consider is the trunk paint offered by Eastwood.com. This looks real nice if you take the time to strip the trunk down to smooth bare metal before applying the paint. I decided I could make something as good or better than any of these options myself and save alot of money for other upgrades. I have seen people do this a few different ways, but I decided to build the floor in three pieces (one large center piece that covered most of the floor and provides a good solid platform that stays put, and two side pieces that are similar in size and shape to the stock filler boards). I made the floor of 3/4" MDF board because it is very easy to work with, and I had a 4'X8' board leaning against my wall in the garage. One thing to keep in mind about MDF is that it is not as durable to moisture as plywood (I decided if for some strange reason a piece was ruined by water I could easily just make another). As with most things like this is best to make a template out of cardboard first, cut a little larger than necessary, and then trim/sand to give the proper snug fit you are looking for. Take your time and do it right, because if you are good with a jigsaw this probably takes you about 30-60 minutes. For the sides I used the 1/4" MDF boards and custom cut the boards to go across all four sides of the trunk. Additionally, I created some angled pieces to cover the wheel wells (See figure 2 for examples of the driver side boards). The cut of the boards is pretty important, because if you cut then fairly precisely you can get a very good fit that doesn't require the pieces to be bolted/stuck/etc. in place (mine are not). The key thing is that the boards that back to the quarter panels should be long, with the wheel well piece and the rear piece holding it in place. The wheel well cover I made has a notch in the top that is wedged into the extension in the middle of the wheel well. The rear piece wedges in insets that go across the back of the trunk, and should extend to touch the quarter panel board. This holds the quarter panel board in place at both ends, and the other boards are wedged in place. Note: the rear piece has a hole to take care of the rear brake light wiring, and it will require notches in the bottom to clear the angle bracing in the trunk. After cutting and fitting all the pieces the next thing to consider is covering the pieces with some fabric, carpeting, vinyl, leather, etc. I decided to cover my pieces with black carpeting (goes good with my black interior) for my trunk. The key thing to consider is that the boards should be snug, but not forced in place because the covering will require some space to fit as well. In my case the carpet worked perfectly to make the fit tight. Note: my carpeting is fairly thin. If you are going with a really thick covering this could make the install/fitment considerable harder so keep this in mind. |
Project Pictures |
|
Summit Racing Trunk Mount Cable Kit 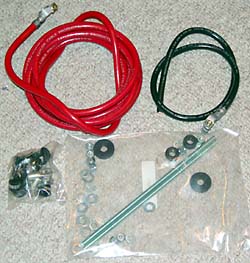
Taylor Aluminum Battery Box 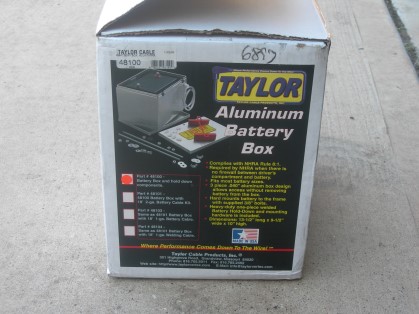
Cable Routing 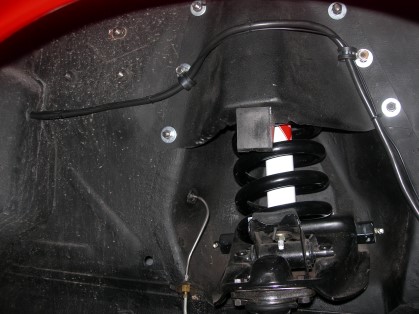
Finished Trunk w/ Taylor Aluminum Battery Box 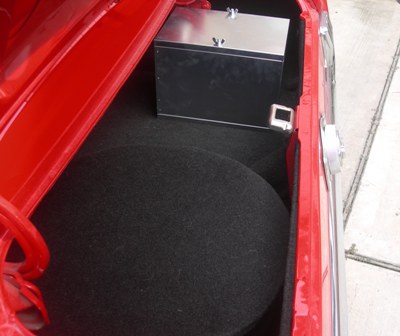
Some pictures of the drivers side boards 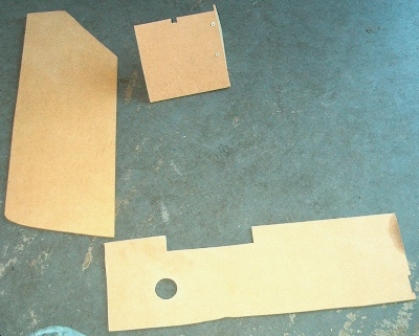
Test fitting of the side boards 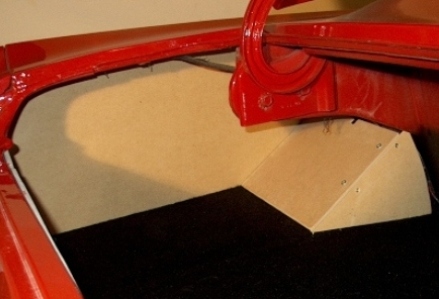
|